Managing Quota Requests on Cloudoor
Your teams are on deck, your deployments are daily, and your environments are running at full speed.
The tragedy is that your resources are running out (minimal tragedy because the monitoring indicator is alert).
It's time to replenish your project. Let's see how.
You have two options to extend or allocate resources: through Cloudoor's U.I. or the command line.
Option 1: Extending Resources Using Cloudoor's U.I.
Go to Projects
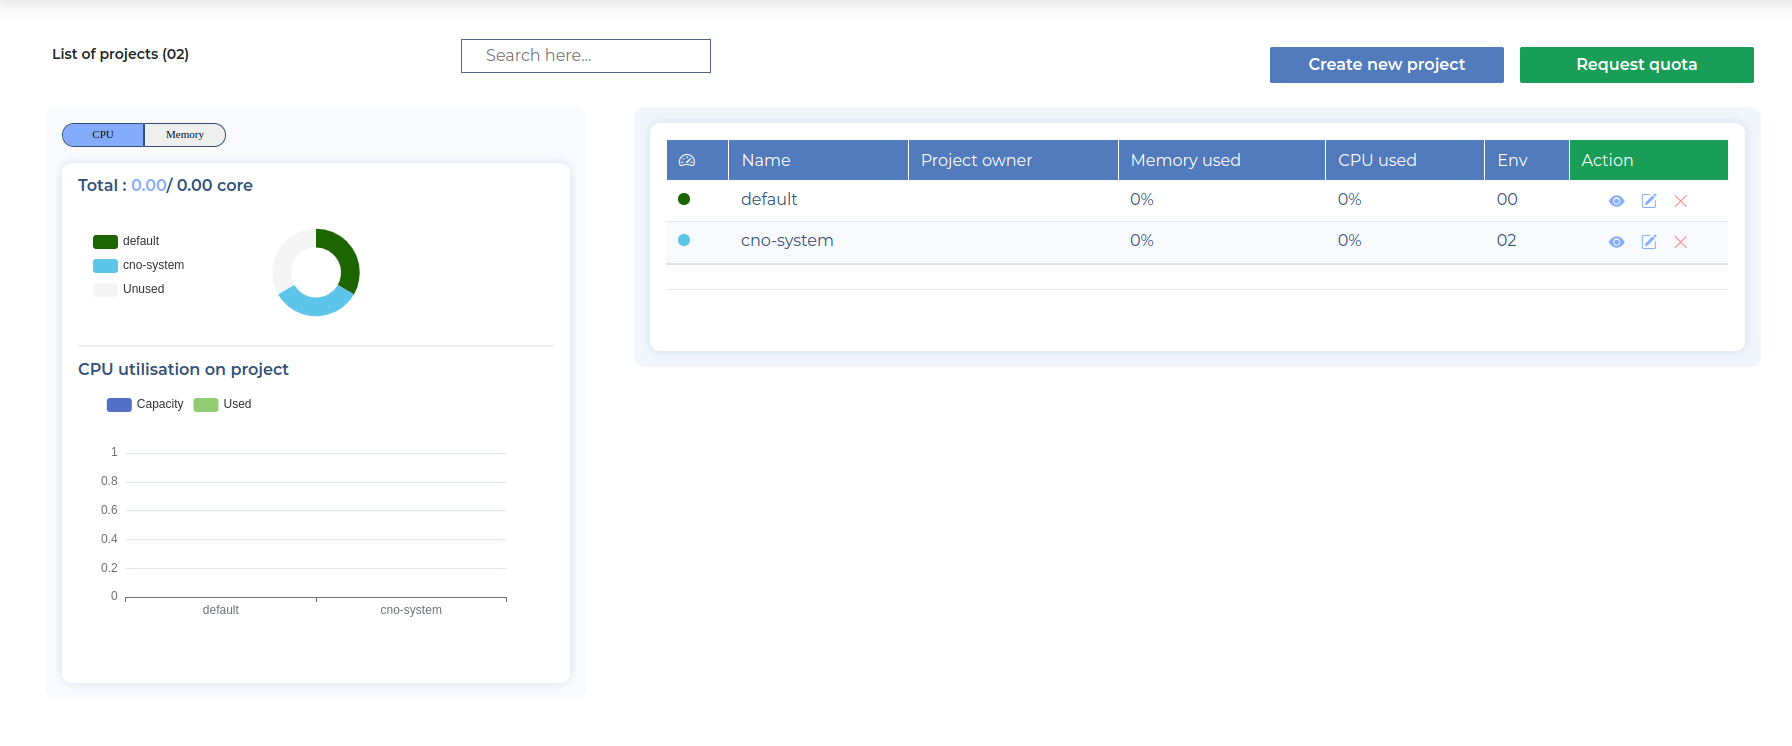
You'll see an overview of your Projects CPU, Memory and Storage Utilization on the left, and on the right you'll find your list of projects.
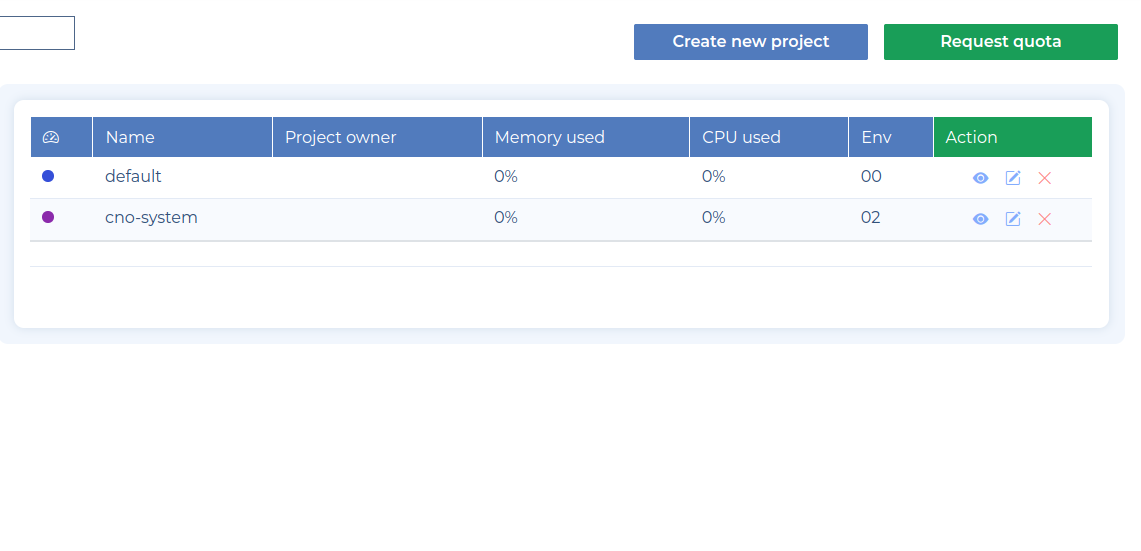
They each have 3 icons on the right hand side:
-
- This is for viewing you project page.
-
- You use this to update your project details like name and tags
-
 - For deleting your project
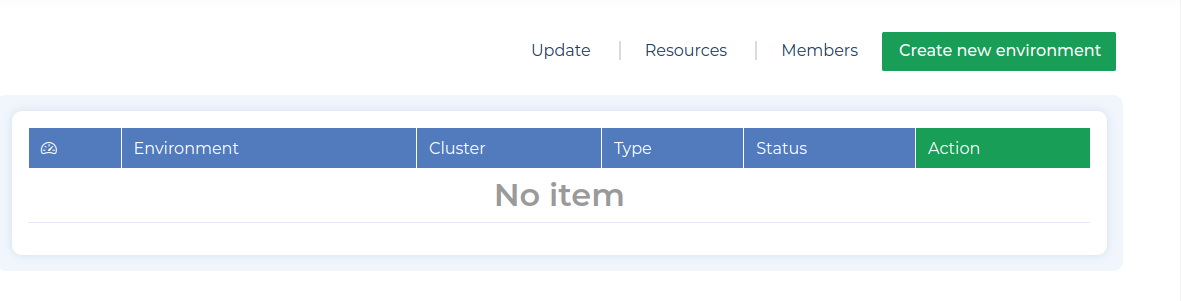
For this guide-through, we're viewing the project page.
Enter your project and click on "Resources" at the top left.
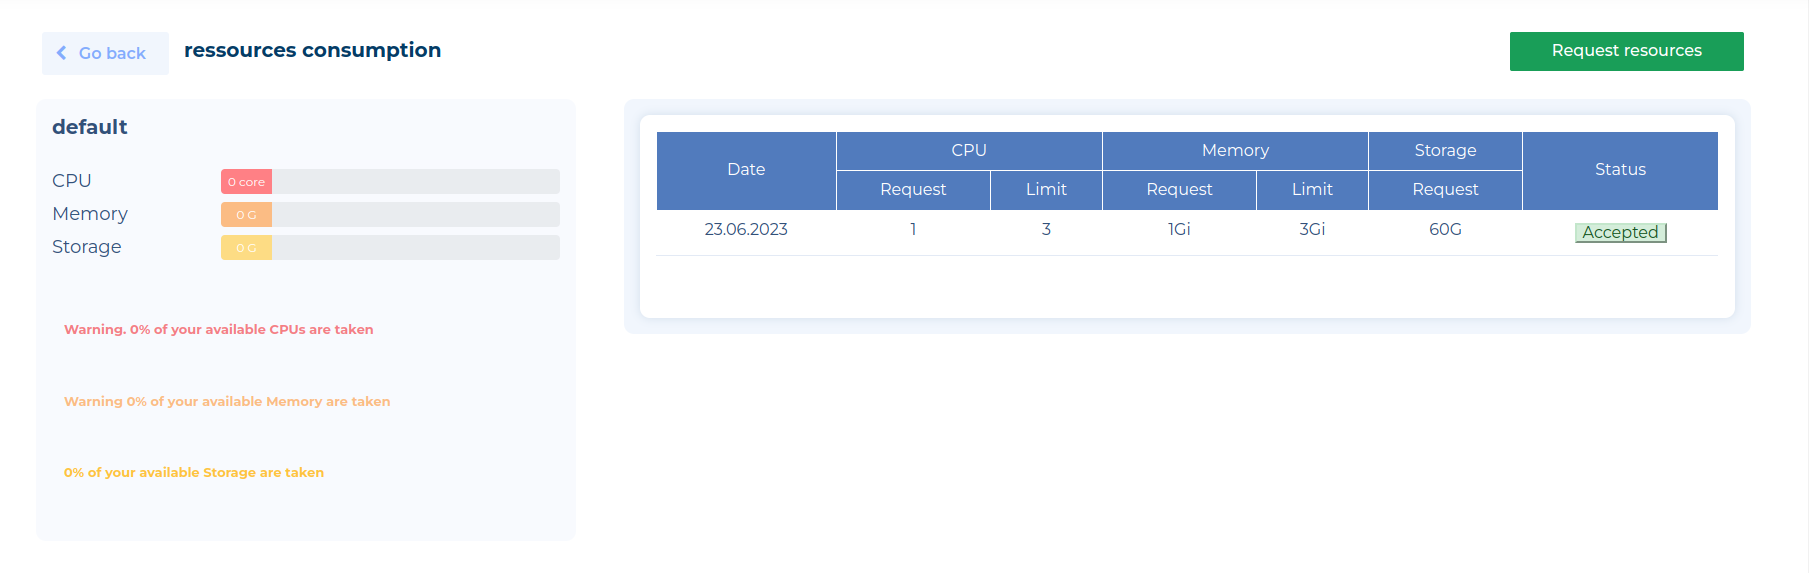
Here, you will find all the history of your resource requests for your project. Click on the "Request Resources" Button.
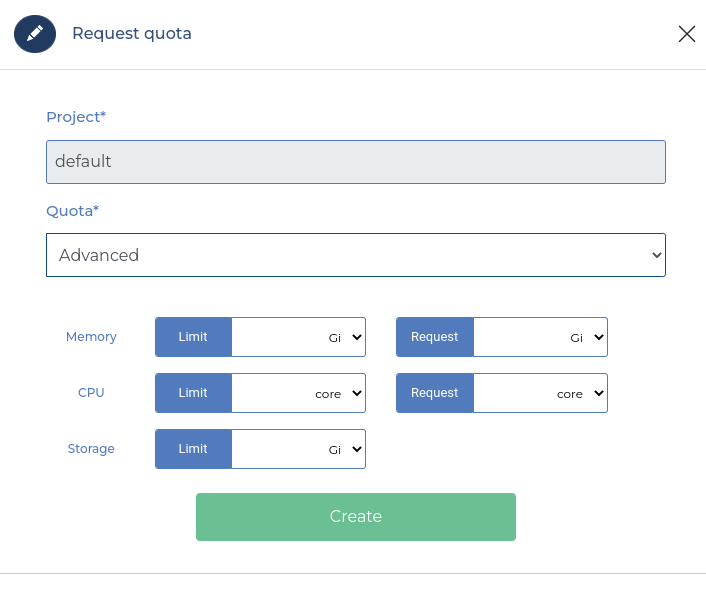
Fill in the request quota form
-
You can choose a quota defined by your organization. OR
-
Use the advanced possibility to customize in detail the requested resources (CPU, Memory, Storage)
-
Press Add.
Successful request!
Info
If you are a Project Owner + your resources are already available.
If you're not a Project Owner+, a Validator or a Super-Admin. Your quota request will be left pending until it's validated and accepted by Project Owner+, Validators or Super-Admins.
To configure your organization's Quotas, head here
Option 2: Extending Resources Through DOOR
We can extend project resources by creating a new quota request.
Before creation, it's good to check if you don't already have pending quota requests on a project with the command:
The status flag also lets you check for accepted quota requests (--status accept) and rejected ones (--status reject)
For quota requests you can create with the command:
door create quota-request <projectName> --quota <quotaName> | --cpu LimitValue,RequestValue --memory LimitValue,RequestValue --storage StorageValue
Info
Quota requests need to be validated if you have no super admin or owner+ role. Put another way, if you are super admin or project owner+, requests will be automatically accepted; else, you must wait for validation.
You can check the status of the new quota request with: